> For the complete documentation index, see [llms.txt](https://docs.donatepr.com/llms.txt). Markdown versions of documentation pages are available by appending `.md` to page URLs; this page is available as [Markdown](https://docs.donatepr.com/fiscal-hosts/fiscal-host-settings/security.md).
# Security
Fiscal Hosts can opt-in to enforce 2FA for all of their admins. Any attempt at triggering admin operations or visiting the admin pages will be blocked until the admins enable 2FA on their profiles. A rolling payout limit can also be set so that 2FA is triggered when this limit is met.\
\
Projects and events inherit the 2FA settings from their parents.
### How to enforce 2FA for all admins and set your rolling payout limit
#### 1. Go to your fiscal host page
#### 2. Click on ADMIN on the right-hand side

#### 3. Click on Organization Settings

#### 4. Click on Security

#### 5. Check All 'Your Fiscal Host' admins must have two-factor authentication and/or set a rolling limit 2FA for payouts
**6. Click Save**
**When visiting admin pages without 2FA, admins will be prompted to enable it**
[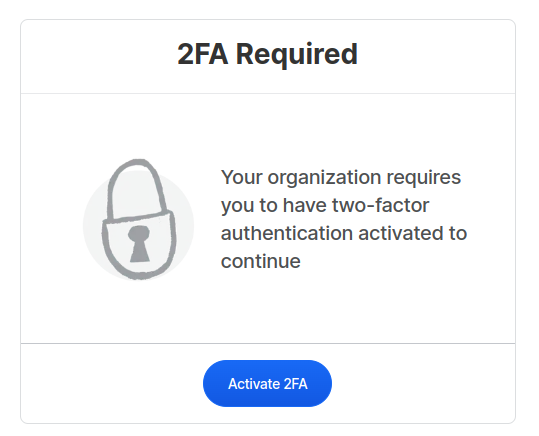](https://user-images.githubusercontent.com/1556356/202162859-7e9cf92e-cb93-49fe-975d-701e7c0b76e6.png)